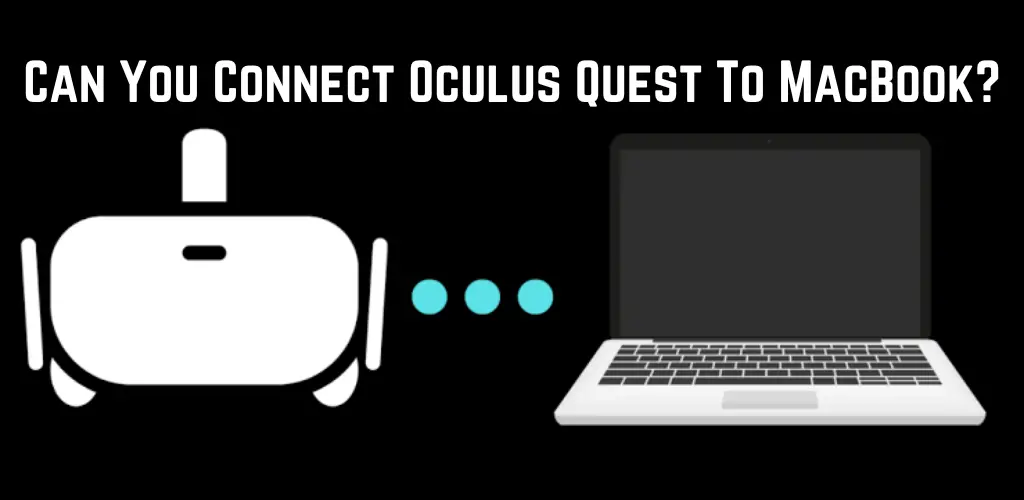
Considering that you are reading this, you must be a Macbook, wondering, Can You Connect Oculus Quest To Macbook? If the Oculus Quest or Oculus Quest 2 VR headsets must have been interesting to you, then this article will solve your problem.
The Oculus Quest and Oculus Quest 2 headsets are compatible and will run with Macbooks. You can connect your Macbook to the Quest headset using a USB cable to transfer files and sideload games/apps to the VR headset. You can do this using Oculus Link, but a higher-end MacBook will be required that has Windows 10 installed via Boot Camp and an external GPU for a smooth performance.
How To Transfer Files From Macbook To Oculus Quest
Connecting your Oculus Quest to your Macbook is easy and can be done using the included USB cable. However, Transferring files between the Macbook and your Oculus VR headset is something you will need to get the best out of your device. Whether you need your saved pictures/videos from your headset to view on your Macbook or maybe want to watch a movie on your Oculus Quest.
Here are a few steps on how to transfer files:
- Download and Install Android File Transfer
- Enable developer mode on your Quest using the Oculus app on your mobile phone
- Connect your Oculus Quest to your Macbook using a USB cable
- Turn ON the headset
- A allow access window will open up, select ‘Allow.’
Now the Oculus Quest should be connected to your Macbook, and you will have access to the internal storage of the headset on your Macbook by opening the Oculus folder.
Troubleshooting Mac & Quest Connectivity Issues
If you face any problems in connecting your Macbook to your Oculus Quest Headset, here are some things to try:
- Reboot your Oculus Quest and try the process again
- Restart your Macbook and try the operation again
- Shutdown and re-open “Android File transfer”
- Disable and re-enable Developer mode
- Try removing the USB cable and plugging it in, or try another cable
Sideload Games And Application To Oculus Quest
If you don’t know what sideloading is, sideloading allows you to download and install games and applications on your Oculus Quest that are unavailable on Oculus’s official store.
This will provide you access to several pre-released and unofficial games and software unavailable on the official Oculus store. You will need to download and install software called SideQuest on your Macbook and follow its installation guide.
You can also check out the step-by-step installation video below:
Is Oculus Link Compatible with macOS and Macbooks?
The fact is that typically Oculus Link and VR gaming, in general, is not compatible with Macbooks. There are two main problems here:
- High-end MacBooks don’t have the required GPU and computing power essential for VR gaming
- Oculus Link does not officially support macOS, and windows 10 is necessary
However, there is a solution to the problem, and you will be able to play VR Games smoothly on your Macbook.
Install Windows 10 on Macbook Using Boot Camp
To solve the issues on a Macbook, you can install Windows 10 on your Macbook using Boot Camp (a tool installed on every macOS).
Bootcamp creates a partition on your hard drive that will operate on windows.
After Windows is successfully installed on your Macbook using Boot Camp, it creates an option that will enable you to operate on macOS and Windows. When you turn on your device, you will be asked whether you want to run macOS or Windows.
Installing windows on your Macbook is necessary for VR Gaming.
Conclusion
Playing VR Games, specifically Oculus Quest, on your Macbook is not an easy process and requires Windows 10 because Oculus Quest is not officially compatible with macOS. Another thing to do is sideloading games and applications to your Oculus Quest headset.


